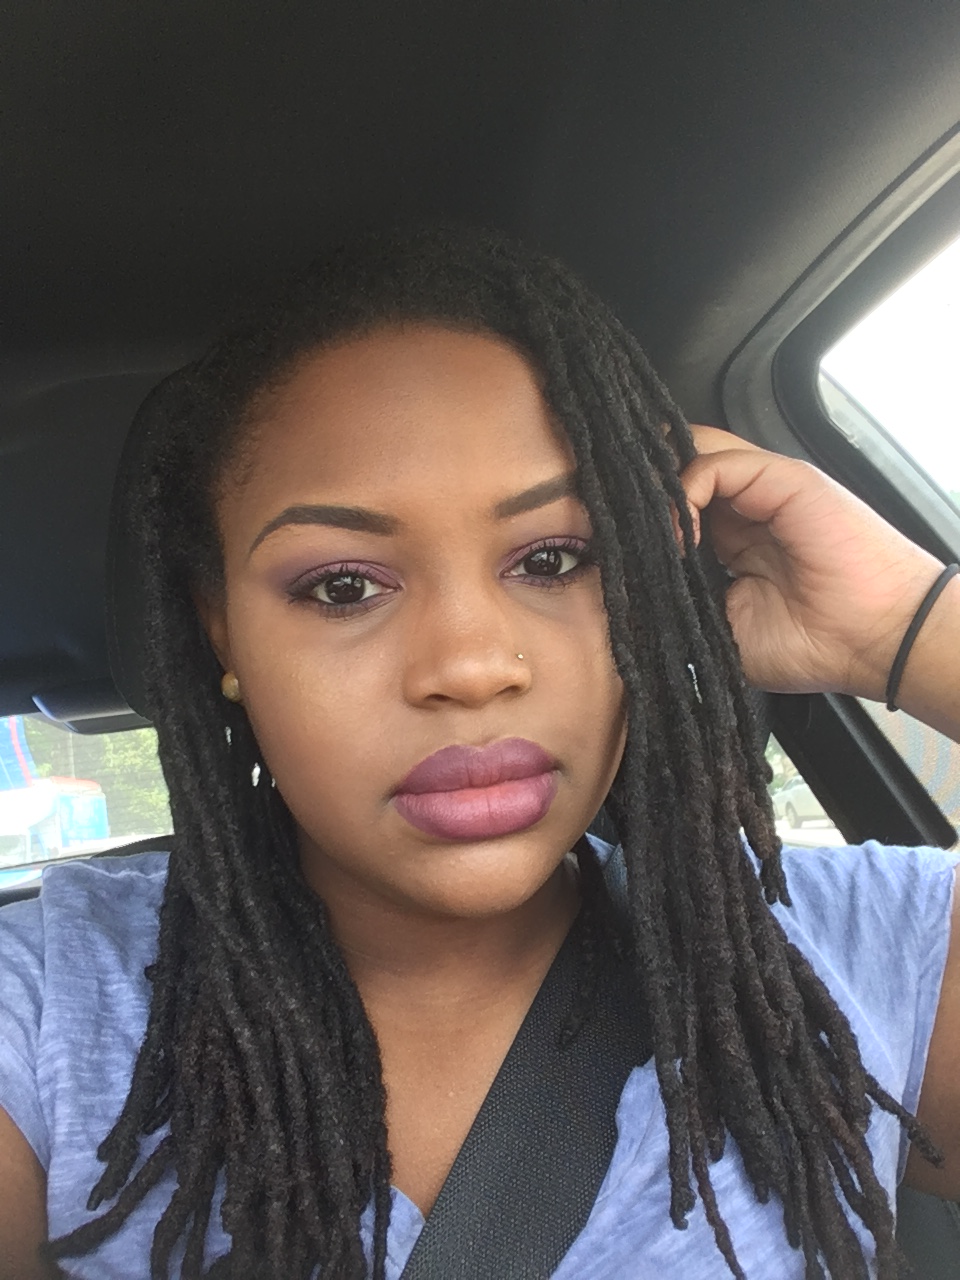
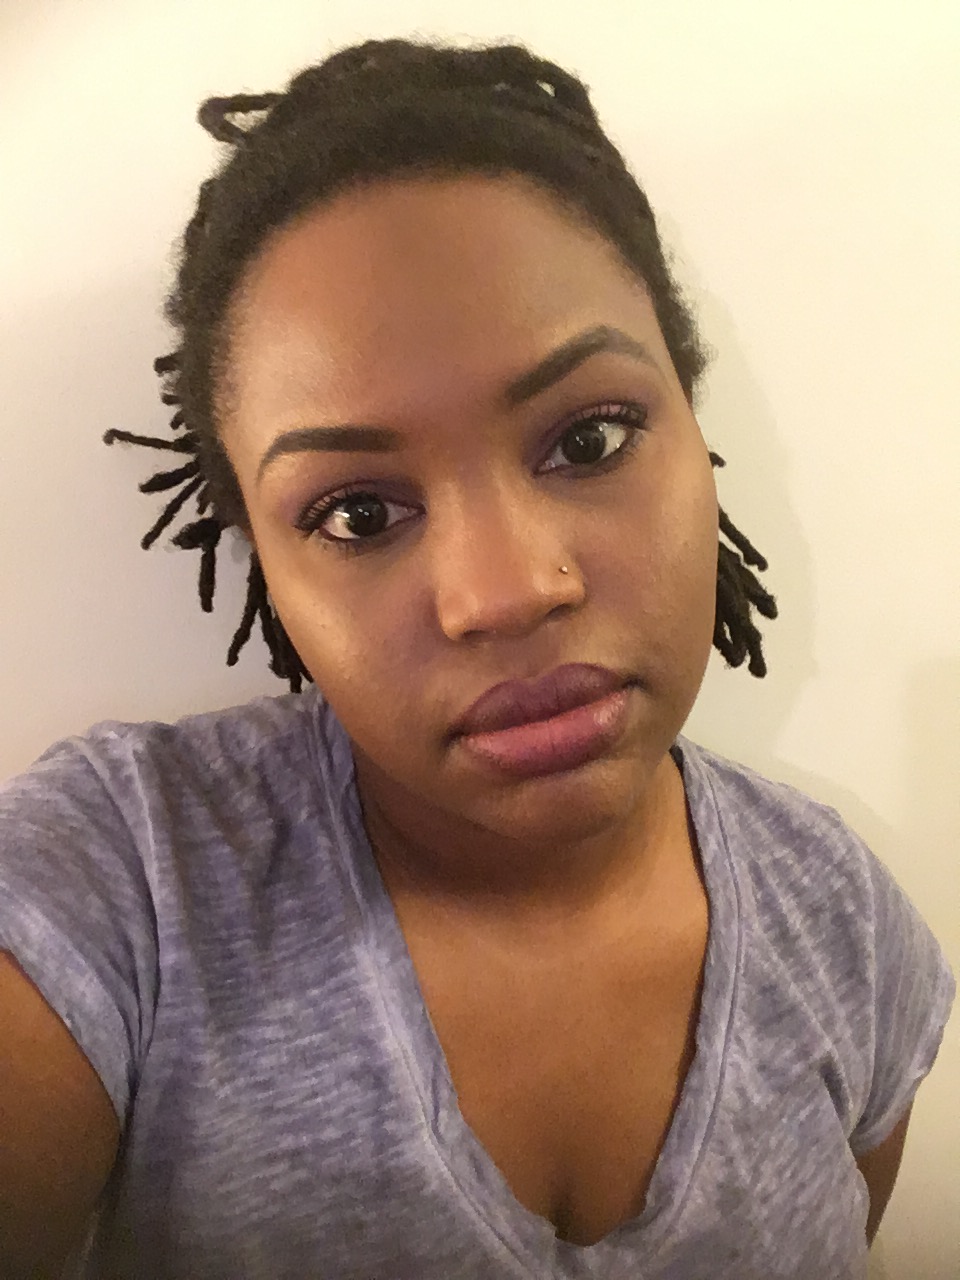
New year, Same me, Better skin.

Here we go. Skincare.  New year, Same me, Better skin. I have oily skin, by the grace of God, my skin has not been acne prone. I do have a crop of pimples pop up every once in awhile, usually on my damn chin. And when those nasty zits rear their ugly heads they decide to hang on for what feels like years. And because of these super disrupting inconveniences, I am launching an attack on my pores in the form of mud masks. I have of course inserted some fun photos of myself in each mask. Oh, sidenote. And this is an especially timely post as my best friend and roommate, Alexis, pointed out to me that today is Friday the 13th. So this post is like in honor to Jason Voorhees or something and the mask that he wears. I am not super knowledgeable of horror movie type things because I am what you call a scaredy cat.

So I tried three masks, varied in pricing. So let’s talk about the one I liked the least, which happened to be the most expensive. The Peter Thomas Roth Irish Moor Mud Purifying Black Mask. A long pointless name for a pointless product. It definitely made my skin feel softer but I didn’t notice any difference in my pores or enhance any dullness. I tried this mask three times and it didn’t dry down at all, which is something I find essential for a mud mask. This mask retails at 58.00. The brand carries several masks and I have tried two others. The 24K Gold Mask Pure Luxury Lift and Firm Mask, which was also pointless but kinda cute because it was gold. Now they do have the Pumpkin Enzyme Mask, which works beautifully, smells strong, and basically, polishes your skin. Love it. Seems like the shorter the name the better the product. These masks can be found online at Sephora.com or in stores.

img_3285-jpg

Next is the one I liked moderately but wasn’t head over heels with. The Pixi By Petra Glow Mud Mask. I like this mask because it deeply cleaned my pores and left my skin feeling supes soft. This mask is 22.00 and definitely a great starter mask. It works well and is worth its price. I would suggest this mask to anyone with oily skin, big pores and on a budget. This mask can be found at Target.

image-1

Last. And certainly, the most effective mask is the Pur Dirty Girl Detoxifying Mudd Masque with Pascalite Clay. Pur calls themselves the complexion authority and they are DAMN RIGHT. This mask tingles at first and dries down completely. I mean my face stalled. I could not react to anything. I am actually wearing it as I write this and usually I laugh at my hilarious prose but I am totally incapable of that at this moment. This could be irritating to some but you get such wonderful results. Your skin will tighten, your pores will close, and your skin will be exfoliated. Honestly. I cannot find a downside to this mask. It retails for 29.00, but with shipping and everything I paid 23.00 for mine with a discount code. The code is Jackie, after my constantly mentioned fave Jackie Aina. Get this mask and be blessed.  This mask can be found on Pur’s website or at Ulta. Online and in stores. ALERTTTT, do not wear this mask longer than the 20 minutes the bottle suggests. You will be in a pickle. Promise.

image-1-1

Thanks for reading!  I will update you all with the glorious wonders that this Pur mask has done for me in future posts. Comment with some good masks you have found for your skin that you would suggest for me! Until next time!!

Ride Or Die Makeup!!!

Here I am. Bringing another challenge created on Youtube to my blog. Jaclyn Hill created the “Ride or Die Makeup Challenge” and I saw a couple of my favorite YouTubers create the challenge on their channels. Alissa Ashley’s was super cool, and she made it into a tutorial.

I loved doing this! As a makeup lover, I am always exploring new products and trying them out. But there is always a favorite, one that sticks out. When I began my blog, I mentioned my favorites so this is an excellent time to update my favorites and explain to y’all while I LURVE them.

First things first. The base.

  • Foundation: NARS All Day Luminous Weightless Foundation in New Guinea. This foundation is EVERYTHING. It is so incredibly light weight and pigmented, I can hardly stand it. It lasts all day and the match is perfect.
  • Concealer: MAC Pro Longwear Concealer in NC45. This is the concealer I use to highlight. I have only been using it for a little more than two months, but the use has been religious. Generally, one pump of the concealer covers all of my highlighted areas and my sad, sad dark circles.
  • Bronzer: Bobbi Brown Bronzing Powder in Deep. Bobbi Brown, girl! You did that! I searched high and low and side to side for a bronzer that actually brought color to my face. I love this bronzer, and I fear the day I hit pan.
  • Contour: Makeup Geek Contour Powder in Half Hearted (Warm Medium) and Koyvoca’s Contour Stick in Aphotic. If I am going full tilt I cream contour and set it with the Makeup Geek Powder. I love the effect of cream contouring and feel slayful when I do it.
  • Setting Powder: Sacha Buttercup. NEED I SAY MORE. And for the rest of my face I use Mac Studio Fix Powder in NW45 and that adds more matte coverage for me.

Eyes.

  • Shadows: I always go to my Morphe 350. I know its famous upon the blogger community. But I adore a 3 step nude eye look with a wing.
  • Liner: For the aforementioned wing I use Kat Von D tattoo liner. Enough said, I will never use any other liquid liner.
  • Mascara: I am devoted to Too Faced, Better than Sex BUT in recent weeks I have stila Huge Extreme Lash Mascara has captivated me.


I am not sure this is what Jaclyn Hill intended but I felt like a badass all day. There is something about wearing products that you know work for you that makes you feel like the shit. And I mean that is usually how I feel anyway, but I digress… I took some cute pics of myself on the way to work! Here they are!

IMG_2399IMG_2347Image-1


I will save my brush favorites for another post, AND I was thinking of doing the “How I Did My Makeup in High School” Challenge. I think that one will be hella funnnnn. Thanks for reading, until next time!!!!

Is it really a DUPE??? Part 1.

I have been all over blogs and youtube searching and searching for dupes for two of my most coveted beauty products. I am doing this for a couple of reasons. Firstly, I want to find cheaper options that work just as well. Secondly, I need to expand my makeup repertoire. I am the queen of grabbing the same products day after day. AND THATS NOT HOW YOU LEARN AND DEVELOP SKILL.

I know. I know. I am ranting and I haven’t even mentioned the products. The first one is NARS Radiant Creamy Concealer in Biscuit and Amande and the second is Kat Von D’s Tattoo Liner in Trooper. Those two products are almost always involved in my glamour. If I am going to rock a wing, you better believe I am grabbing Trooper. That applicator makes it so so easy for me to get a precise wing. On days where I haven’t gotten enough sleep and my dark circles are as deep as the night sky and as sunken in as the grand canyon, I reach for the NARS. This happens fairly often, because there is always something to marathon on Netflix OR I got caught up watching Youtube videos. The concealer is so hydrating and it is as equally full coverage.

Now for the Dupes, I am trying the Maybelline Fit Me Concealer and the Maybelline Master Precise. I learned about the NARS dupe from Jennie Jenkins on Youtube. And I am not sure where I saw the Master Precise, but I won’t claim it as an original thought. Both of these products “claim” to work the same as my holy grails. I am not really that skeptical, I just don’t like changing up my routine. (I am writing this before I try it, I will check in after)

Ok guys, I tried it. Verdict is in. I really enjoy the Maybelline Concealer. It isn’t as full coverage as the NARS, but I don’t mind that on my more chill makeup days. It’s really really creamy. And it hydrates and lifts my under eye. I wouldn’t call it a dupe but I am a fan and will continue to use it.

For the Master Precise. I am not such a fan. I don’t mind it, but I definitely won’t ever pick it up before my Kat Von D. Its really black and pigmented so thats a plus. BUT its stiff and not as easy to use as the Tattoo Liner. And it skipped a little for me as I was creating the wing, KVD Tattoo Liner’s tip is always saturated.

NARS is on the left and Maybelline on the right. KVD on the left and Master Precise on the right. The doe foot applicator on the Maybelline is a bit smaller but that didn’t really matter in application. The applicators on the liners were very similar. But like I previously mentioned, the tip of the drugstore liner was way more hard to work with.

ANDDDDD here’s a selfie for good measure.

IMG_1333

Alright, guys! Thanks for reading! Comment below with any good dupes you have found. Until next time!

SUMMER LIPPIE LOOK BOOK

I keep mentioning in my posts that I live for a bold lip, so here I am making an entire post about them. It’s June and you won’t catch me wearing a nude lipstick. I am definitely aware that some silly folks think my plump-ish lips and skin color should keep me from wearing such bright colors. And I choose to disregard their foolery and ignorance. Shana Moore on Youtube created the #thepaintedlipsproject for people of color to share lip swatches and to celebrate their skin. She found that POC expressed “gratitude simply because it is rare to see mainstream products modeled on women with darker complexions.” I may not be on Youtube, but here is my contribution to #thepaintedlipsproject.

First up is Colourpop’s Matte X lippie sticks in Jenneration X paired with their liner in Taurus.

IMG_1244IMG_1245

Next is Colourpop’s Matte X lippie stick in Climax.

IMG_1246IMG_1247

Now I did a pink ombre lip. Sorta fuchsia. I used Kat Von D’s Bauhau5 and put Ofra’s St.Tropez in the center. Lastly, I put a tiny amount of Ofra’s Bel Air in the very center of my lips.

IMG_1253IMG_1251

For my last look, I did the purple version of the previous look. I lined my lips in the Ellarie lip pencil from Colourpop. Over that I placed L.U.V. by Kat Von D and in the center I used Las Vegas by Ofra.

IMG_1256IMG_1254

I really really enjoyed doing these! I think I am gonna make it a series. Lip products are my favorite beauty products to buy and play with. My lips are dry and sad now but it was worth it!

Thanks for reading, guys! Comment below with some of your favorite lip colors! I am always looking to try something new. Until next time!!
The Power of Makeup

On my jaunts through youtube channels, I discovered the Power of Makeup Challenge. I believe it was started by NikkieTutorials and most other Youtubers followed. She made the video because she felt like makeup wearers were being shamed for loving makeup. In the video she made a great point about the assumptions people make about makeup lovers; “you do it because you want to look good for boys, you do it because you are insecure, or you do it because you don’t love yourself”.

I have encountered some of those same responses. People have said to me “who are you getting cute for” and “why are you wearing ALL that makeup”. The answer is always the same. FOR MY DAMN SELF. Makeup is one of the ways I express my creativity. And it is also a form of self expression. If I am wearing blue lipstick, chances are that day I am feeling particularly good about myself and I want to be bold. I have worked on self love for a long while. I love myself just the same, in or out of makeup. My self love comes from confidence within myself and recognizing my self worth, but I am not gonna pretend like makeup did not have something to do with that. Looking at myself in or out of makeup and appreciating all of my beauty (inner and outer) is essential to my continuous growth.

IMG_1167IMG_1168IMG_1171IMG_1176

Here are some selfies I took for the challenge. I definitely enjoyed this challenge, and the meaning behind it. I plan to bring other youtube challenges to this here blog!

Thanks for reading! Comment below with any comments you have heard from beauty bashers and how you brushed them off. Until next time!


Spring & Summer Makeup Routine

In my past two posts I have mentioned that I live in South Carolina. Its notoriously hot and humid here. In fact the tag line for my city is “Famously Hot”, and it is so so so accurate. Being that it is hot and humid here I have to take precautions to keep the oil and shine at bay.

It starts with a good base. I choose primers that fill my pores and reduce shine. My two favorites are the Smashbox Iconic Photo Finish Primer and Benefit’s Porefessional. Both of these keep my tzone looking flawless. For the perimeter of my face I use Nivea’s Sensitive Shave Balm. That stuff is magic, my contour and highlight don’t fade at all!

My summer foundation is the Lancome Teint Idole. It claims 24 hour wear, but I have worn it for upwards of nine to ten hours and it has lasted with only 1 to 2 touchups needed. I have been applying mine with a beauty blender and letting it set for a couple of minutes before I add my concealer highlight. It definitely appears tacky at first but once it has a moment to settle it leaves a nice soft matte finish.

The most crucial step in this process are the products use to set the makeup. I have mentioned all but two of them on my blog. I use Sacha Buttercup powder as if my life depended on it. I set all my highlighted areas with it. And sometimes if I am feeling a little extra, I will brush it away and apply an additional layer. For my whole face I use Koyvoca’s KV Classic Setting Powder. I reviewed their products in a previous post. I couldn’t ask for a better complexion product. I mean, it blends all my makeup together seamlessly and keeps my face oil free. AND THE COLOR MATCH 10/10! If you haven’t visited this brands site, please please do. It is well worth it. Lastly, I use the Smashbox Photo Finish Primer Water. This is the best setting spray I have tried. It takes away the powdery look and leaves a nice natural glow without any oilyness.

So here is my makeup like 15 minutes after I finished. Excuse the selfies, it was not an A1 selfie day and your girl was struggling. It was about 1130 am and already 86…yikes.

IMG_0738.JPG

This is about and hour and a half after the first photo. I got to hang out with my brother today but he merely tolerated me for these pictures. IMG_0759.JPG

IMG_0753.JPG

This was taken at 430pm. By this time there was some definite oiliness in my Tzone and my lipstick was due to be reapplied (popcorn) but I did not blot so y’all could see how the makeup stood up to the weather. We saw the new Captain America and there was so much goodness to look at. If y’all don’t care about the action or the story line please go for Chadwick Boseman (Black Panther) and Sebastian Stan (Winter Soilder).

IMG_0766.JPG

Alright. The last two. The first one was just me being adorable on snapchat. And this one is right before I took off my makeup. And I am so done with the day. It was extra humid here bc it rained a tad bit but the sun never seemed to go away. The high was 94!

IMG_0776.JPGIMG_0786.JPG

All things considered, I think my makeup did pretty well throughout the day. I am pleased with this routine I have developed. Comment below if you have any other suggestions or tell me what works for you! I hope this helped with your summer makeup routine! Thanks for reading! Until next time!!!

Colourpop Brow Colour!


Hi Pals!

I feel so neglectful of my blog, I have been incredibly busy (playing outside and enjoying the beautiful weather). So I wanted to do a quick informal post on the Colourpop Brow Colour.

Firstly, I have only used brow pencils until I purchased the Brow Colour from Colourpop. I am in the shade Black N’Brown. I have been loyal to Anastasia since the beginning of my makeup obsessed journey. And I still love their brow products. I have the Brow Powder Duo, the Brow Definer, and Brow Wiz. I used the color Medium Brown in all of them. But Youtube encouraged me to step out of my comfort zone. AND I AM OBSESSED. The Brow Colour is so incredibly creamy and long lasting. The pigment makes me want to faint. Colourpop blew it out of the water. In South Carolina the weather is already in the 90’s and ridiculously humid so lasting power is important. I haven’t used anything for my brows since I got it in the mail. I got the Brow Pencil too, but I haven’t even wanted to try it. The price point is great; the brow products are only 6 dollars. I am gonna include a couple of photos below of me in the Brow Colour. Thanks for reading. Until next time!

IMG_0296
This is about an hour after I applied!
IMG_0348
This was after a good 6 hours. I live in South Carolina so its super hot and humid and it lasted the heat! DIVE BAR SELFIE!
IMG_0353-1
Just throwing this in there. Mostly for the adorable puppy, but I look good too! 😉

Sisters that Slay Together…

My sister graciously provided her time and face for me to practice on another human. She was the perfect first “client” because she was patient with me and we have known each other for like 25 years or something…so conversation was easy. Makeup is mostly just fun for me, but if it became a side hustle for me I would not be mad at it. I definitely need alot more practice before I charge anyone, but I intend to borrow as many of my friends and families faces as possible.

Tristan isn’t a big makeup wearer so I didn’t want to load her down with product. We started with a bit of color correction because she has some discoloration on her cheeks. I used Mac Studio Conceal and Correct Duo in Pure Orange/Ochre to correct. Tristan brought her own foundation, she uses Fashion Fair Oil Free Liquid Foundation. She has been loyal to this brand and specific product since her high school prom. I highlighted the high points of her face but only lightly because I didn’t want to give her a drastic look. And I reverse contoured with Sacha Buttercup powder because it gave a lighter affect than my usual contour stick.

For her eyes, I used my Morphe 350 Palette and put Porter from Colourpop on the lid. I am not gonna lie, I was super nervous about doing liner on someone else. I don’t always get that right on me, so I took a little bit of an easier route. I lined her top lash line with Kat Von D’s tattoo liner in Trooper and smudged it with a black shadow to fix any mistakes. That was more forgiving. Mascara was a bit nerve wrecking too, but only because I was worried about stabbing her in the eye. BUT, it turned out fine. I put Better Than Sex on the top lashes and Roller lash on the bottom.

I let Tristan pick her lipstick. I expected her to go with a nude, but she surprised me. She chose my first Mac lipstick purchase in Viva Glam 3. Its not a bold color but its not super muted either. I think it perfectly complimented the look. On her cheeks I used a light touch of Mac Burnt Pepper and highlighted her cheeks with the NYX Ombre blush in Nude to Me.

Here are some photos of the look! As always the awesome Alexis Schwallier took them.

And here are some of us together!


Thanks, Tristan. You the best. ALSO. She has a self care blog, https://ownescape.wordpress.com/. If you are a teacher or anyone struggling with your self care needs you should def check it out.  Until next time!

Concealers! High end and Drugstore!

Alright! Let’s jump right in. Concealer has become such an important part of my makeup routine. From color correctors to highlighting to spot fixing-I NEED IT. So, I wanted to make a post about my high end and drugstore holy grail concealers.

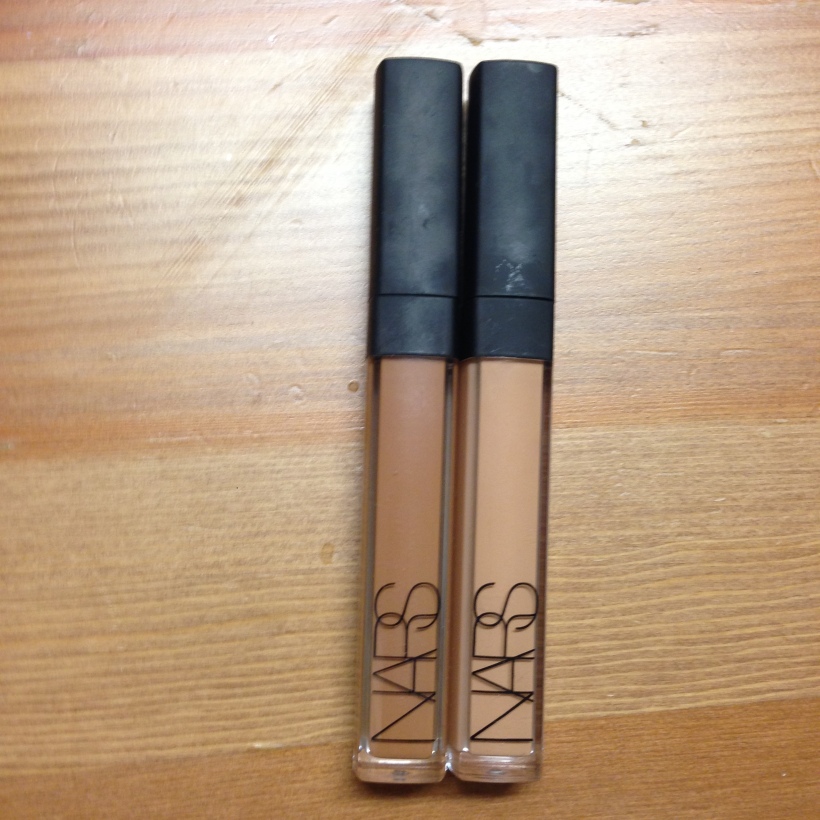
For high end I only have one holy grail. The NARS Radiant Creamy Concealer is amazingggggg. It sets super quickly so you have to move fast. But there is a plus side to that, it does not budge. Its a concealer for all climates, I live in South Carolina and its already 82 in March. I wore it last Thursday and spent the entire day outside. No creasing and my highlight stayed on all day. I of course set it with my Sacha Buttercup Powder. I use Biscuit and Amande to get my perfect shade. This concealer retails for 29 dollars at Sephora. Its alot but definitely worth it and when it runs out I will definitely replace it.

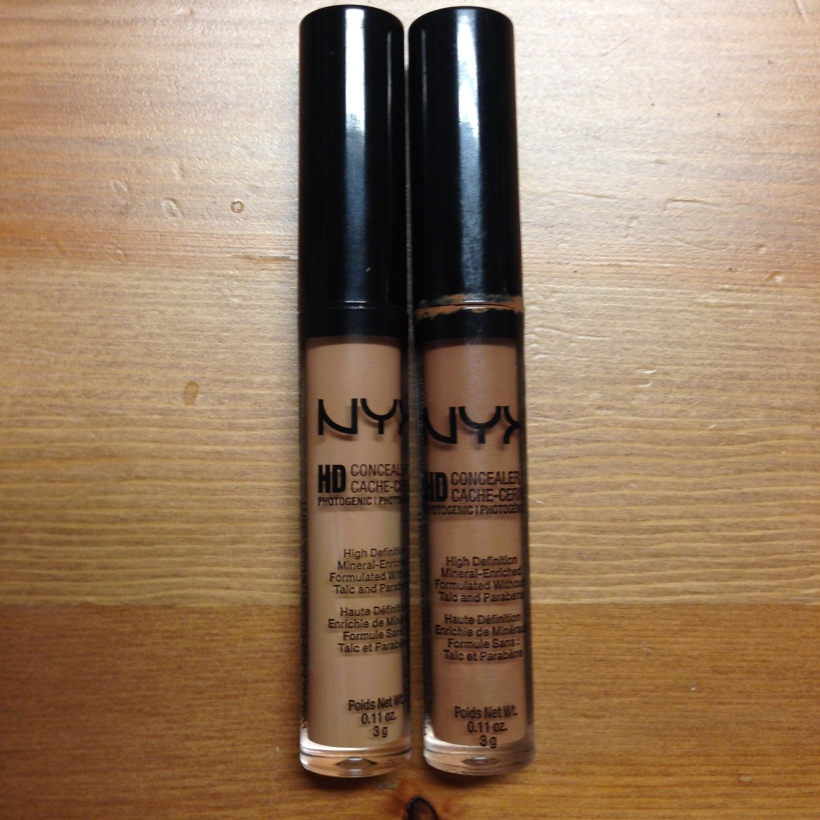
Okay. Now on to drugstore! I hear lots of people talking about the LA Girl Pro Conceal and I have that too. I like it but I don’t love it. I LOVE the NYX HD Concealer. Its not very thick but the coverage is awesome. It gives me a lightweight full coverage effect. I tried the Urban Decay naked skin concealer and these are very similar. I even returned the Urban Decay because this is almost the perfect dupe. Like all concealers, I set this one to increase the longevity and to keep it from settling into fine lines. For this one, I also mix two colors. I use CW08 and CW07. These retail for 4.99 at Ulta.

IMG_8285.JPGIMG_8286.JPG

IMG_8282.JPG
From top to bottom NYX CW07, Cw08 NARS Biscuit, Amande

There are definitely more concealers I want to try! High end and drugstore. I have heard amazing things about the It Cosmetics Bye Bye Under Eye and Maybelline’s Age Rewind and Fit Me Concealer. Comment Below about the concealers you love and would be worth a try. Thanks, until next time!